
Himbo House
aka “Making Friends”
Working titles: “House Rules,” Himbo House,” “The Stepford Prison Experiment,” “Dr. Ballantine’s Fastasmological Bimbo Machine,” and finally “Making Friends.”
The decision to make a full comic book for Sick Puppy Press was a big one. As a business, SPP needs fresh material at regular intervals to keep itself going, and making a full comic book was going to have a long production schedule. If we couldn’t get it done in a set amount of time, it was time to sell some blood and maybe an organ or two. But, heck, it was something we’ve always wanted to do, so let’s go.
Once that commitment had been made, work began. First, you need a story idea. The idea of a bunch of college kids stuck inside a malicious lab experiment was not new or original, but it suited the requirements of a comic book. You don’t have a lot of time for character development and to explain a plot in a comic. You need to set the plot up quickly and get it moving. There are only so many pages and panels you can draw, so it’s vital to make the story as light on plot as possible. The experiment idea doesn’t need a complex set-up.
Once the idea was done, a plot was written. I figured on about 24 pages to do the comic. I might just get away with producing 24 pages in a month, but I knew it would be tough.
Plot
1. John, Nick and Garrett are signing forms for an experiment. Professor Sheila Ballantine is going over the instructions, that they are to dispense all identification or personal items and live off what they find in the house. The boys joke with each other, knowing that it’s an experiment, hoping they don’t “crack” under the pressure.
2.Sheila shows the elements of the house, and says there are camera everywhere to document. The windows are just blank white light. The phones will work, but can’t call out, just to computers that can simulate conversation. The TV will also show live video of her or her assistant from the control room when necessary. The door is sealed shut.
3.The boys claim rooms and generally make a mess of things. They discover Felicia, Nick’s girlfriend, who has stowed away. She’s not that bright. The doctor is furious, but says she can’t abandon the experiment, so she stays.
4.Nick and Felicia spend the days locked in their room. Garrett and John complain to each other. They note that the TV plays nothing but teen sex comedies and lifetime movies. They’re told that sports, news and cartoons are coming “soon.” They try to talk to one of the phone robots, but it’s awkward.
5.Nick emerges from his room, tired as hell, and wearing Felicia’s panties. The boys say they wish they had snuck in their girlfriends as well. Prepared food appears in the kitchen slot, and they start to talk about the situation: how the phones only call and text automatic robots, the radio only gets one Disney kids station, and the computers only surf to on-line game sites.
I wrote a plot outline in “clusters” as a series of events or a short period in time. The intent being that each idea would either be a page or two when drawn.
The advantage of this is that when I got to scripting, I knew how many pages I wanted to dedicate to that plot development. Even as I would edit and make changes on the fly, I knew I had to get things done in a set amount of space.
As you look at the original plotting to the left, you’ll note some significant differences from the final product. That’s just the nature of working on the story over time.
When I was done, I had 29 clusters, and intended to get that done in 24 pages.
Well... Maybe 28 pages. Thirty tops.
Now I had plot and pacing. Next was the script. In the interest of time, I went right to doing the text bubbles for this step. Rather than try and visualize how text would fit into a page, putting it onto the page at this step made it a lot easier to make sure I could fit dialogue into the limited space and still move the plot along. I went over it several times until I was satisfied I could move on to the art stage.
A challenge of making a comic is that you have no “inner dialogue” or descriptive text. You can’t write how someone feels or describe concepts. You have to show it. It’s impossible to say “Jim felt a certain subtle guilt at eating his wife’s wonderfully tart pancakes that left him conflicted about the affair he had been hiding from her for five years.” Forget it. You can’t get away with that in a comic. It would take several panels to draw that one sentence. Comics is all visual. So the script needs to be crisp and concise.
Another thing a comic artist needs to keep in mind is that you can’t stick dialogue bubbles in the middle of a drawing. If you draw your art first and then put the text in, you have to jam it in or place it right over your artwork and things look a little... unplanned.
Kids! Do your bubbles first!

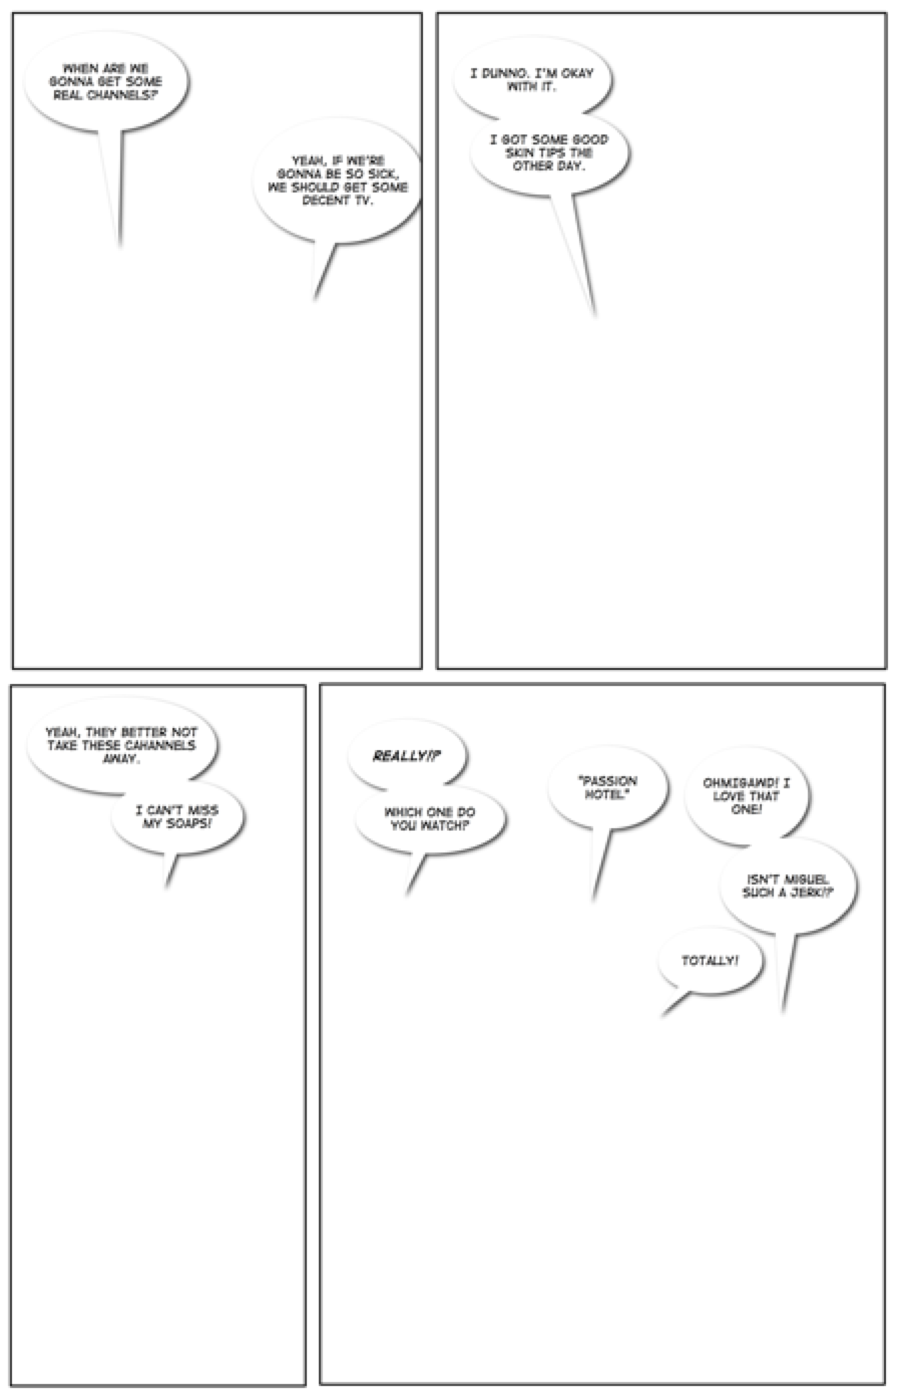
Fortunately, there’s a great little program called “Comic Life” that is fantastic at dialogue bubble construction. I was going to do all my artwork in a program called “Manga Studio” which is great for inking and sketching, but it’s text handling is not easy to understand and a bit clumsy... and it was built for Japanese. I needed something that I could work in free-form and move & edit text quickly. It also creates panels just as fast. Comic Life was the answer for me.
So, I started writing my script as I simultaneously created the panel layout and visualized what the art was going to look like in the panels. Three steps in one!
Once I was done, I had roughly 34 pages of dialogue and panel layout. That was much more than I wanted. It was pushing my abilities to produce 34 pages in the time I had.
With that in mind, I set about doing some drastic editing to trim the story down. I would then fidget with it as I went through a few different endings, and after a few days work, I had made some severe changes, leaving the final page total at 38.
I am a moron.
But, onward! Now, it was time for the actual artwork. Rather than try and sketch the final 170+ panels in one go, I broke the book up into 5-page segments. Once I was done with the sketches, I would ink them and then move to the next five. This was the longest part of the project.
As I mentioned earlier, I did the artwork in “Manga Studio Debut,” a Japanese program that’s been translated to English for the rest of the world. It’s a really cool program, but it has a steep learning curve. I had been fiddling with it for two years before I was confident to use it. I also have a Intuos3 graphics tablet to draw with and I’d do everything digitally.
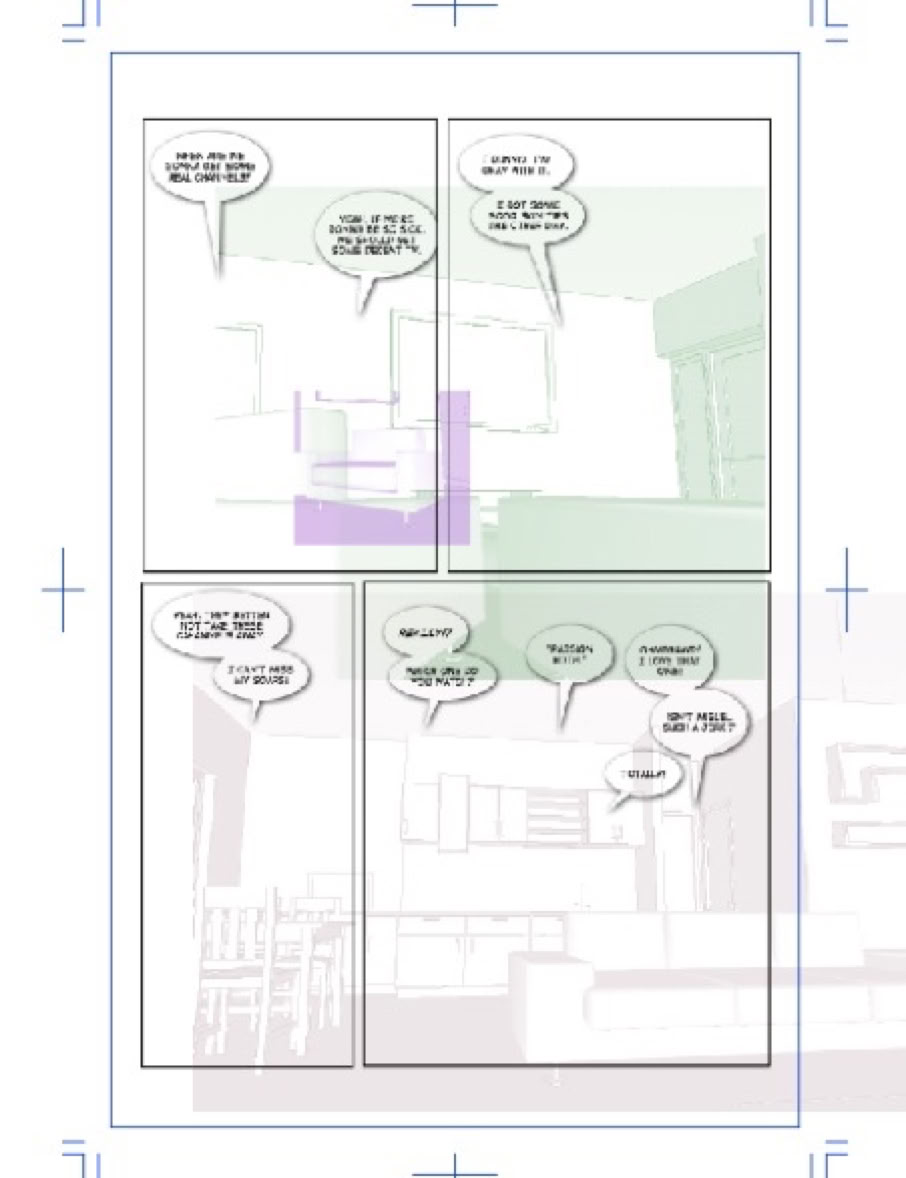
I saved my dialogue panels into a lo-res format and used them as a guide for the pages I sketched in Manga Studio. But you know what I’m truly bad at? Backgrounds. Especially straight lines. My hands aren’t that steady and lines are an... issue. So I needed help on my backgrounds.
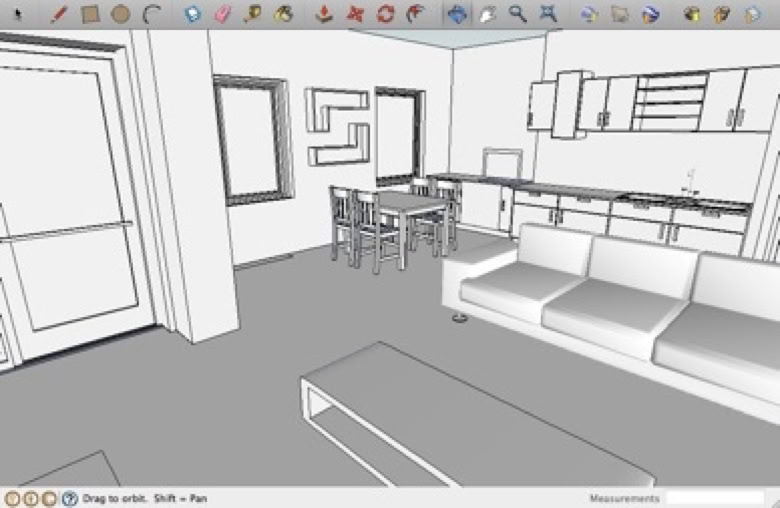
To take care of that, I downloaded and installed Google Sketch-Up which renders 3-D models. I found a house model layout I liked, messed around with it, and now had the basic set I’d use a lot in the course of the comic. The characters spend about 80% of the comic in one room. I really needed this, as I didn’t want to re-sketch the same thing 100 times by hand. I made several screen shots and used them as guides, tracing them in Manga Studio.
At this point, my pages looked kinda crazy, but I understood it and could work within it.
With these 3-D backgrounds in place, I’d then also add photo reference where necessary. Yes – traced photos. I don’t care if people think it’s “cheating.” I’ve got 170 panels to draw!
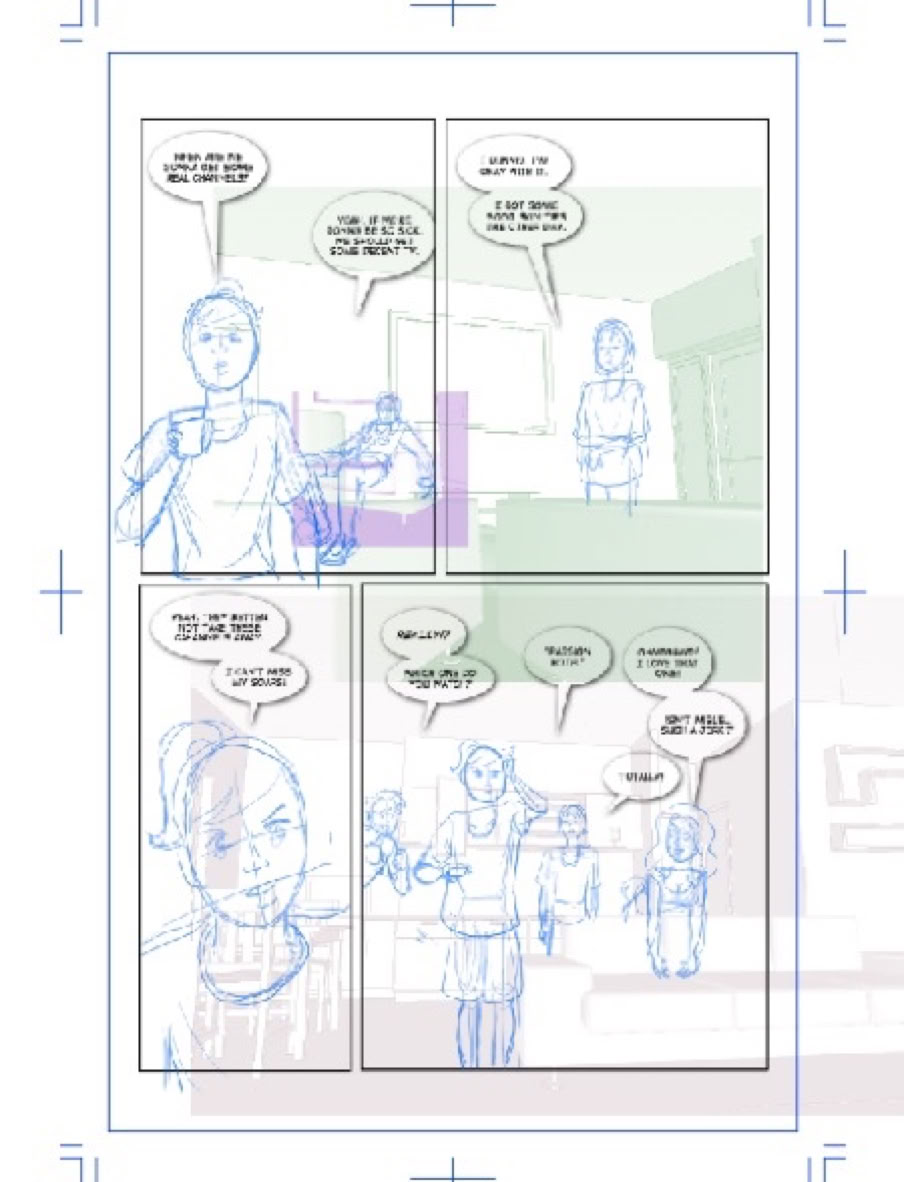
With all the guides in place, now it’s time to draw the meat. Also known as humans. The people need to get drawn into the panels. That was the next step.
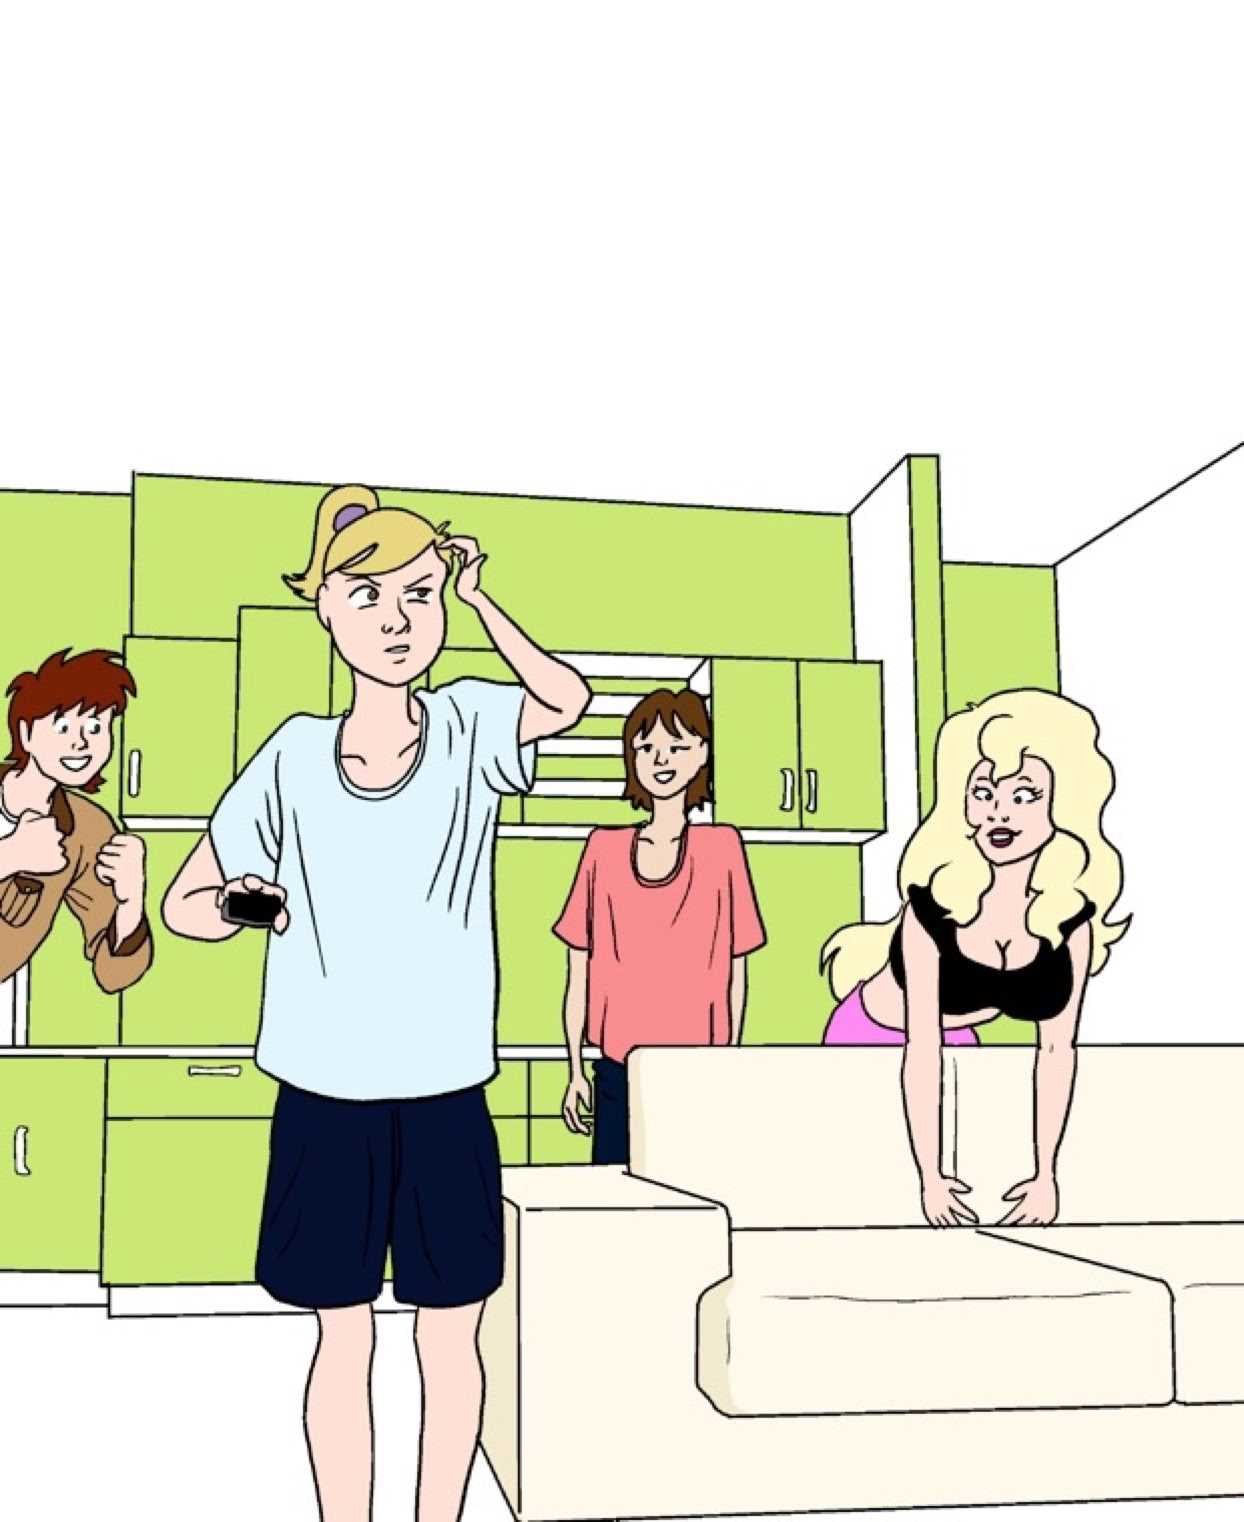
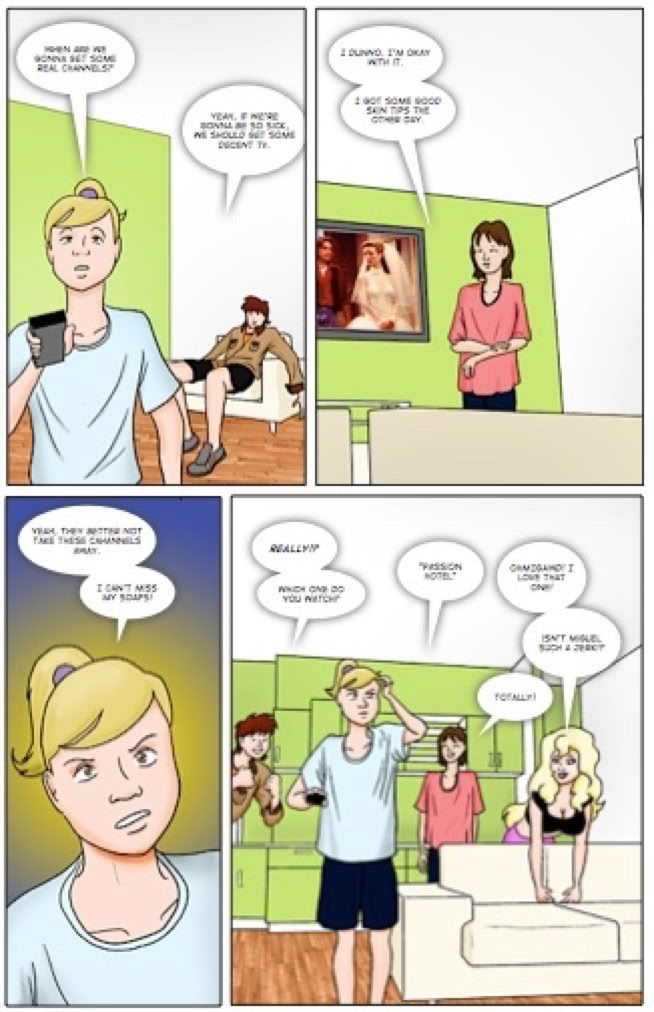
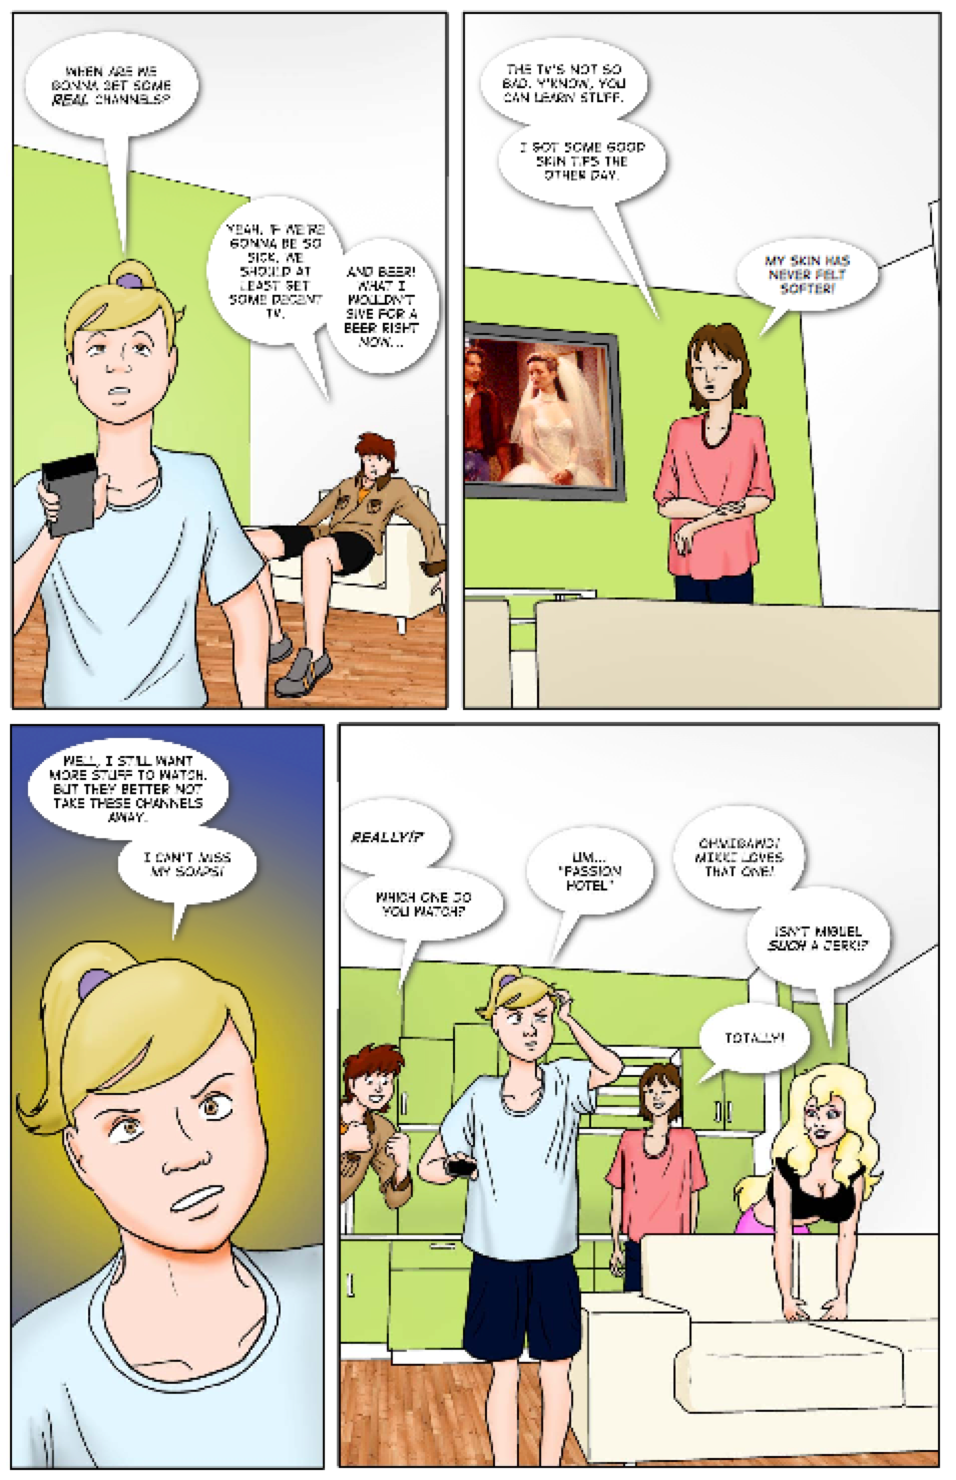
Panel 1 had two people, one is controlling the TV, the other is relaxing in a chair. Panel 2 has the TV visible, so we can see what they’re talking about in Panel 1, and the character is drawn small to look humble and slightly shy, matching what he’s saying.
Panel 3 is close-up, to make his comment. The effect of changing the size of the figures form Panel 2 to Panel 3 also keeps the page looking dynamic and interesting.
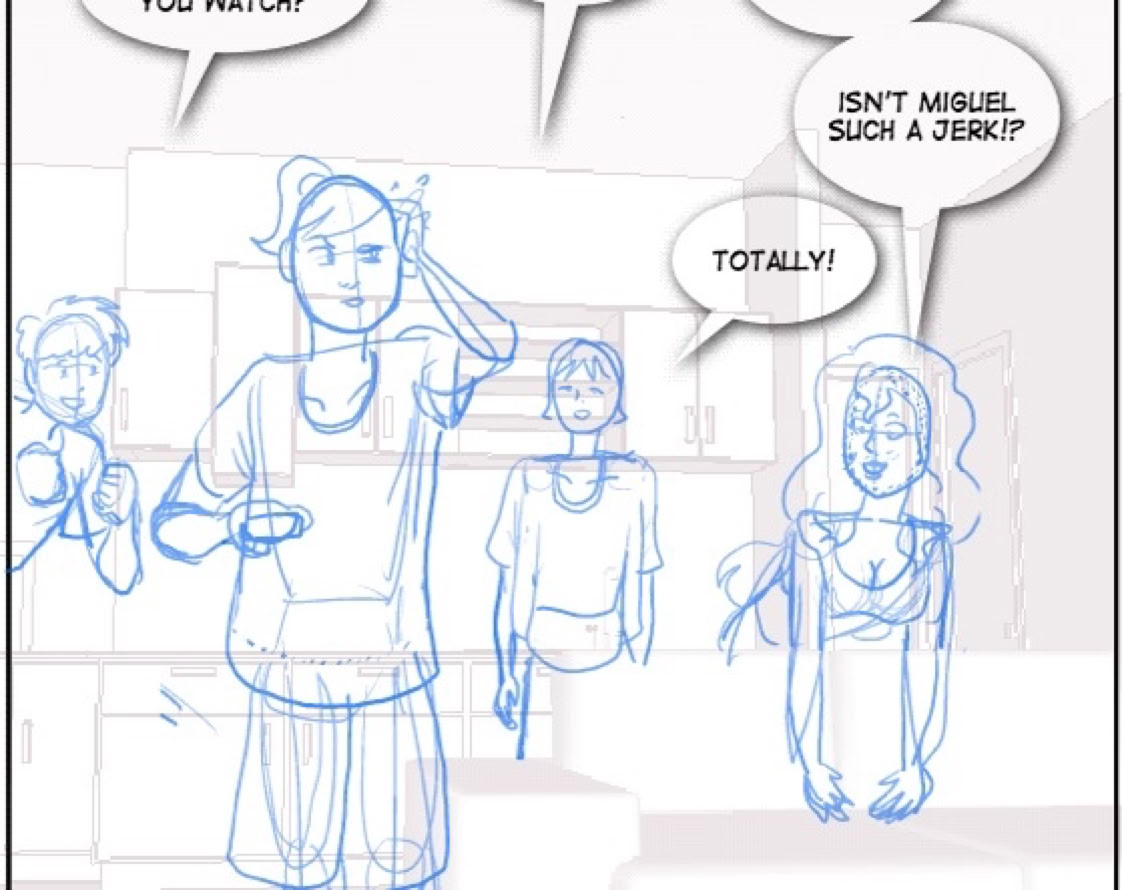
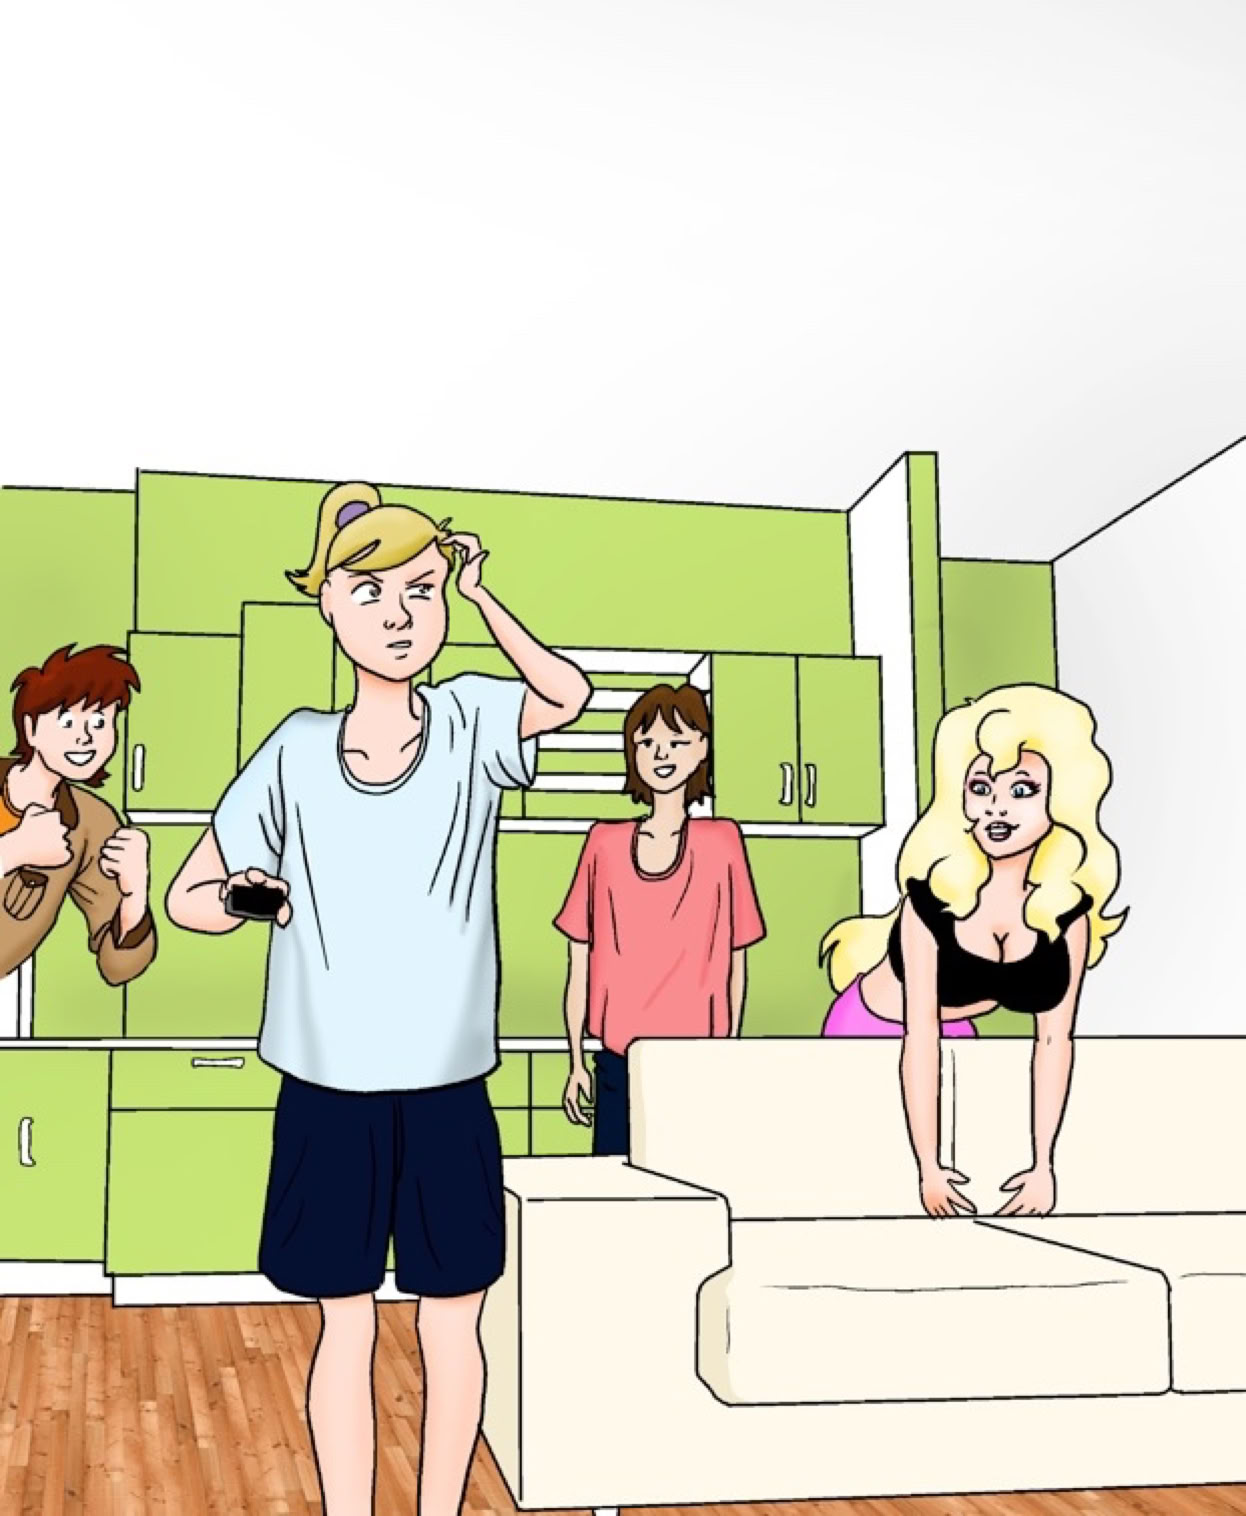
Panel 4 Then involves the whole gang as they unexpectedly all chime in.
Here’s Panel 4 blown up a little. The figures are sketched in, and I’m a little loose on the sketch. I didn’t have time to be too precious about making great pencil sketches, and I knew I’d be able to make up for it at the inking step.
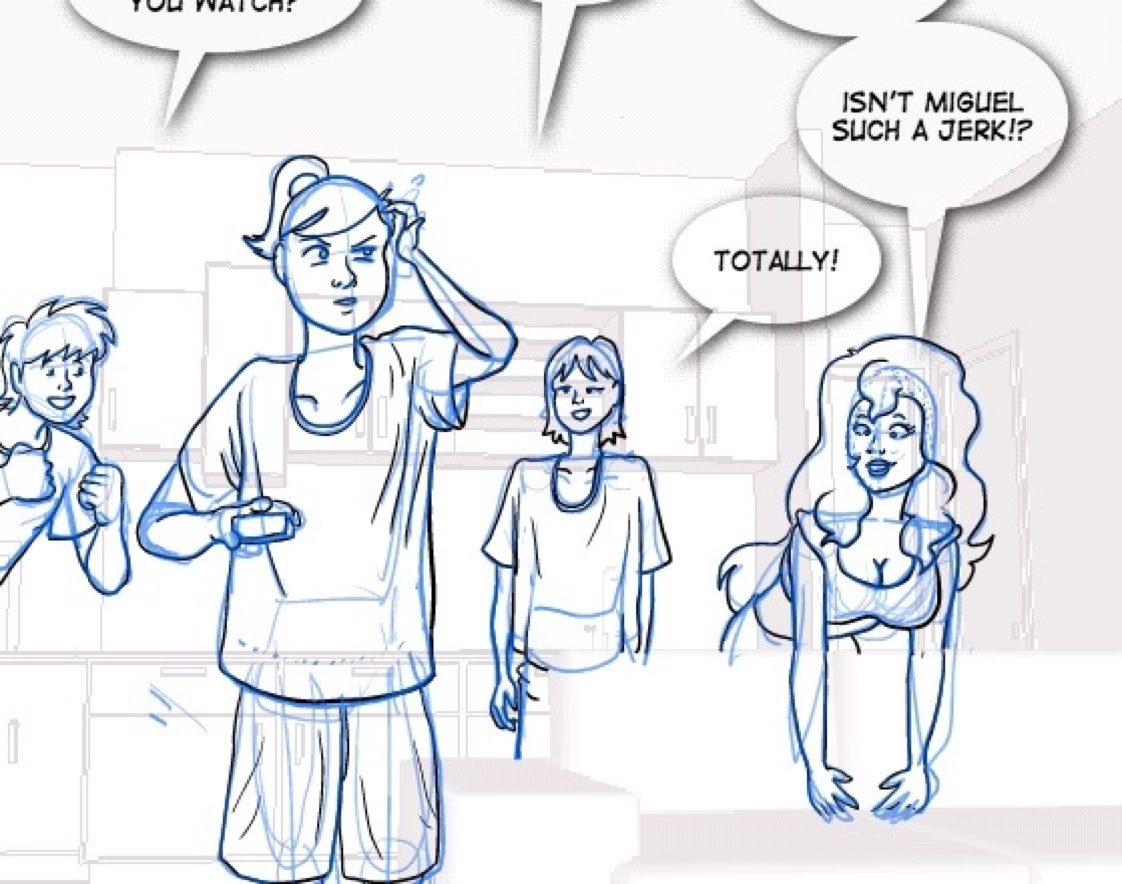
Here they are inked. Um... What I didn’t catch at this point, the shirt in worn by the character on the far left was incorrect. I’d catch that some weeks later, when it was painful and time-consuming to fix.
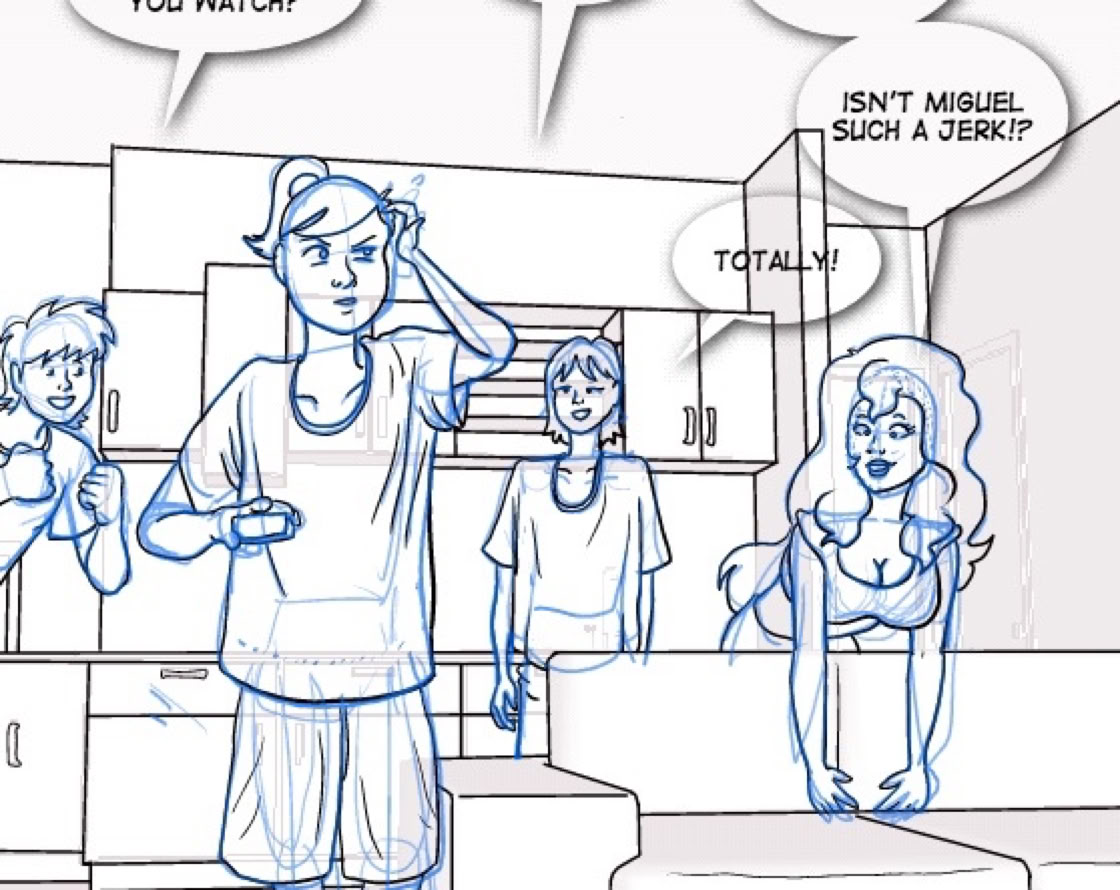
Here’s the inking of the background. Note not all doors and such were inked. I ignored what I didn’t need.
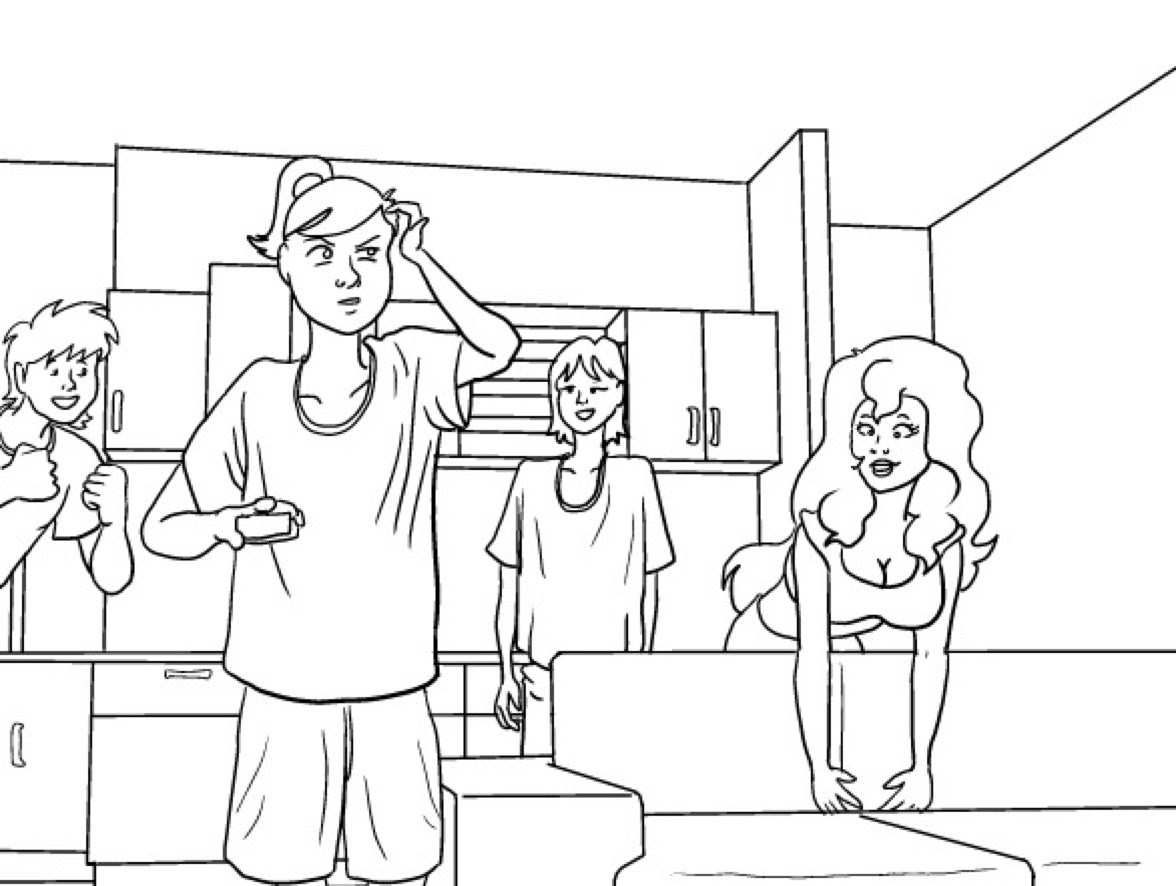
And finally, without sketch and guide layers.
Now! Color! I saved the pages out as photoshop files and took them into Photoshop CS4 for coloring. I did “flat” color, filling in the black lines not unlike a kid’s coloring book.
That step took about a week to go through all the pages. After I did that, I was hoping they looked good enough to put into the comic book.
Um, they weren’t.
I needed to shade the images. I had hoped to skip this step, because my deadline was days away and I still needed to do the layout, the cover and re-write the dialogue a bit. But no go. I had to do the shading. That’s okay, I like ramen soup and you don’t technically need both kidneys.
In a stroke of luck, I picked up some freelance work right at this time and made up the difference to let the deadline slip for two weeks. So I wouldn’t try and push the deadline any farther, we put a big old clock on the front of the website to shame me into getting it done.
In addition to shading, I also did other things like add makeup to girls’ faces, put a shine in the eyes and on lips, and made the textures for the floor and other areas. It really made the images look more rich and complex, and the depth that the shading added was a good idea.
Now we’re coming down the home stretch. After spending about 10 days doing the shading, I had complete artwork (except for some editing and fixes that needed to be done), and I was ready to do the layout. For that, I went back to Comic Life.
Comic Life is really designed to work with photographs, so you can add funny text word balloons to your home photos. They probably never intended it to be a real comic production tool, but fortunately for me, it was up to the task. I copied and pasted the panels from Photoshop into Comic Life at 200 dpi. My originals were drawn at 600 dpi, and I reduced it to save on the final size of the file and make sure Comic Life could handle it.
With the balloons & panels in Comic Life ready and waiting, putting the comic together was snap. Here we are with the images put into the ready panels, and the page is just about done.
The final steps were to go back over the dialogue and make sure I was happy with it. It was too late to change anything in a major way, but the freedom Comic Life gave me to make adjustments meant that I could twiddle the dialogue and the balloon placement until the very last minute.
After this was done, I spent my last day drawing the cover image, making the graphics for the cover, making the webpage and then uploaded it to Lulu.
It’s that simple!
From start to end, it took about 45 days which was a surprise. In previous (failed) comic attempts I’ve never worked at a rate that could do more than a single comic book page in three days, so to do 38 in 45 days was more than I’d hoped.
Oh, and then I slept for two days straight.